söndag 29 juli 2018

My mother´s birthday...

Hello!

It has been really hot here in Sweden for the last 3 months. So I havn´t really been up to craft much. But this summer we celebrated my mothers 70th birthday.


So I made a card and a triangular gift box with sleeve.


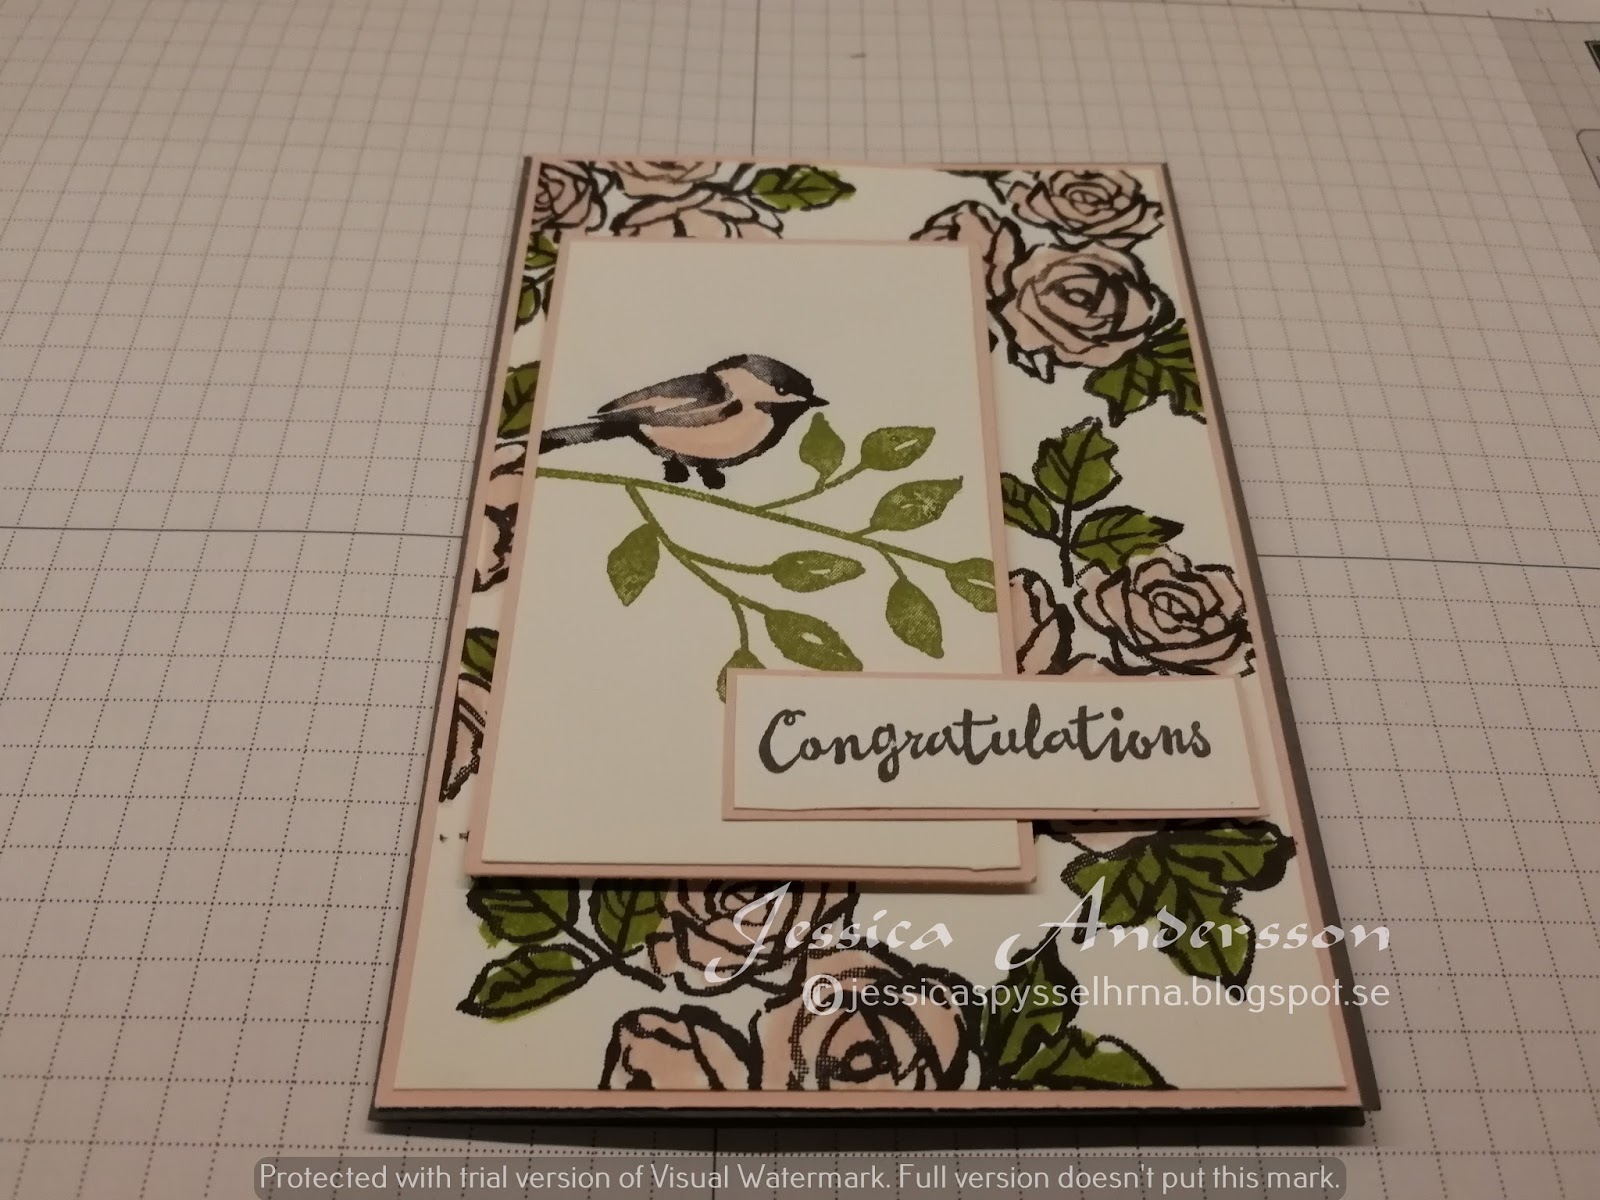
For the card I used the wonderful Petal Promenade Designer Series Paper (DSP). I matted it in a piece of Petal Pink Cardstock (CS) and added them om the  White CS that I have as base for my card. On the beautiful DSP I added a piece os Delightfully Detailed Laser-Cut Speciality Paper.


On top of the DSP I cut out with Oval frames Rose Glitter Paper and then with Scalloped Oval in Petal Pink. The sentiment is stamped in Petal Pink using stamps from the stamp set Picture Perfect Birthday and is cut out with a Stitched Oval. I also added some pearls.


I saw a video by Linda Parker and used her measurements for the box. If you want to look at her video you can find it here.


Using same Petal Pink as base for my triangular box and then I used another DSP from Petal Promenade DSP-pack.


The sentiment is from is from the same set as I used on the card, Picture Perfect Birthday.  I cut it out with a 2" circle punch and then cut out some Petal Pink CS using the starburst punch.


Thank you for visiting!

Jessica

måndag 25 juni 2018

Wedding gift and card...

Hello!

Here in Sweden we celebrated Midsummer nights eve friday and me and my family went to a wedding. Was a cousin that got married and they were so beautiful! They had asked for travel vouchers or money as they wanted to travel on a honeymoon. I found a tutorial by Ann, Positively Paper crafts,  you can find her video here.


I used Sahara Sand cardstock (CS) as base for the suit case and then added som Designer Series paper (DSP) from Stampin up.


I added a tag in Sahara Sand and stamped with stamps from the set called Wonderful Life and then added pearls.


On the handle I added a ribbon I found in a local store. On the edges on the suit case I added stitched circles and the buttons on the straps is Champagne Foil that I cut out with a ½" circle punch.


I also made a card and used same colours, CS and DSP.  I used the stamp set called Cake Soirée with matching dies.


I also stamped the envelope to match the card.


I stamped the cake in Sahara Sand and the cake stand is in Champagne Foil. The stamps is on dimensionals and then I also stamped and hand cut the word celebrate also on dimensionals, mini this time. Also added som pearls to the card.


The Wedding Wishes on the outside of the card and the stamps on the inside is from the set called Floral Phrases. 


Have a great day and thank your for visiting!

Jessica xx

fredag 27 april 2018

Another bag...

Hello!

Yes I made another bag. It´s perfect to make bags to use up Designer Series Paper (DSP). Today I have used the DSP called Painted With Love Speciality DSP.


I used the striped DSP for this bag. I was following the tutorial from the other day again. The ribbon is from last years Sale-A-Bration its with gold thread in the ribbon to match the DSP.


Love these fold flat bags. Easy to make and easy to store for later use.


onsdag 25 april 2018

Large Tote Bag....

Hello!

Today I am showing a large tote bag I made. I found the tutorial on Pintrest, by a woman called Jenny. She has a blog called A stamping journey.


I made mine using the Sweet Soirée Speciality Designer Series Paper. The cardstock I used was Powder Pink.

On the bottom edge I used a Martha Stewart-punch to decorate. Also used some Metal Rimmed Pearls to decorate the handles.


Have a great day and thank you for visiting!

Jessica

måndag 23 april 2018

Another paper bag....

Hello!

I had a bag that was given to me when I had a birthday, from IKEA. I thought it is a nice size and I made my own version of it. It is 6" tall and 8 ½" wide and 3" deep. Here you can see where I got my inspiration from.


I used som Melon Mambo Designer Series Paper with white stars on. The handles are white satin ribbon from a local craft store.


I made the bag so it can fold flat for storage.


Have a great day and thank you for visiting.

Jessica

lördag 21 april 2018

Paper bag...

Hello!

Today I am showing a paper bag I have made. I am trying to use up as much paper as I can so I can buy new. Paper bags are perfect to have, I can just add a tag and som tissue paper.  To make the bag I used this tutorial from Mixed up Craft, you find the tutorial here.


I used some old Designer Series Paper that I had in my stash. It is in Mint Macaron. This colour is comming back and it is a really nice colour.


The ribbon is also in Mint Macaron and the bag folds flat, perfect for storing.


Have a great day and thank you for visiting!

Jessica

torsdag 19 april 2018

Easter decorations....

Hello!

Things has been crazy busy here for a few weeks. I have been crafting but posting what I have done has taken way to long.  But I will try and post more often.

Today I am showing the boxes I made for the easter table. This is a box made by Dawn Griffith. We were eight people at the table so made one for each person.


I am using Pink Pirouette and in the framed windows I used Fabulous Foil Designer Acetated, I used the silver side. It has a gold and silver side. Inside it is chocolate eggs.


To decorate the box I used the Silver  Metallic-Edge Ribbon. On top I used one of  the ovals that was left after the scalloped window frame and stamped Happy Easter from the Teeny Tiny Wishes stamp set.


Have a great day and thank you for visiting!

Jessica

fredag 30 mars 2018

Giftbag...

Hello!

Today I am showing a gift bag I have made. I was searching the YouTube for a gift bag tutorial and found one by Angelina at Intatwynedesign. You can find here video here.


I used a leftover Christmas paper, although it doesn't look so very Christmas. It´s from the Year Of Cheer designer series paper pack in Copper and Champagne colours. I used a white ribbon for the handles.


It´s a bag you can fold flat for storage and just add a tag when you need to use it. I didn´t make a tag for mine since I am just making up a lot of bags to have in storage (and to use up my paper so I can buy new paper...).

 Hope you have a great Easter and thank you for visiting!

Jessica xx

torsdag 22 mars 2018

Tutti-Frutti card...

Hello!

Today I am using the stamp set Fruit Basket. It comes with matching punches. Its not my idea, I saw a video by Liz Yuille doing this card. You find her video here.


I am using black cardstock as base for my card. I then stamped all the fruits. I used the colours Pear Pizzazz, Flirty Flamingo, Real Red, Crushed Curry, Garden Green and Crumb Cake. I then added them to the card on dimensionals. I took another piece of black cardstock and heat embossed the sentiment with white embossing powder. I also added that to the card using dimensionals.


Inside the card I stamped congratulations in Swedish with my InkyWings-stamp set.


Have a great day and thank you for visiting!

Jessica xx

måndag 19 mars 2018

Perennial Birthday card...

Hello!

I saw a video a while back on YouTube and now I finally had time to try it. If you want to have a look at Jill Chapman´s video, you find the video here.

 I used the Sweet Sugarplum cardstock as base for my card. I then added a layer of Whisper White cardstock. On the white cardstock I used the happy birthday from the Perennial Birthday stamp set and stamped it first full strength and then again using second generation ink with Pear Pizzazz ink  to make my background. I then added som dots and flowers with black in and also added some faded old olive made with a sponge and some Pear Pizzazz ink. I then stamped the flowers and coloured them with my Stampin´markers Rich Razzelberry, Sweet Sugarplum, Old Olive and Pear Pizzazz. I did som fussycut to the flower and them added them with dimensionals and multi purpose glue. Finished the card with som enamel dots in Sweet Sugarplum.


Have a great day and thank you for visiting!

Jessica xx

torsdag 15 mars 2018

Party Pandas...

Hello!

On today´s card I am using the Party Pandas stamp set. I saw this card on Pintrest and thought I have a try. I am using the colours Lemon Lime Twist, Daffodil Delight, Tempting Turquoise and Whisper White.

I stamped the Happy Birthday stamp from same stamp on one side of the cardbase. Then I added strips of Tempting Turquoise, Daffodil Delight and on the white cardstock I stamped one of the pandas three times. I then took the confetti stamp and stamped it in same three colours around the pandas. I also painted the party hats on the pandas, I coloured the spots on the hats.


Thank you for visiting and have a great day!

Jessica xx

måndag 5 mars 2018

Embossed background...

Hello!

I saw a Facebook live the other day by Jackie Lawless at StampinJack and she made a few cards that looked fun. One of them she made with a few inkpads and copper embossing. If you want to have a look at her video you can find it here. It is the first card she made.


I have Black cardstock as base for my card then a layer of Copper foil. Next layer is Very Vanilla cardstock. On the Very Vanilla cardstock I have used different ink pads,  Sahara Sand, Crumb Cake, Soft Suede and Early Espresso. Then I added some Copper embossing. I then embossed again with Copper embossing powder the sentiment on a piece of Very Vanilla cardstock. I then cut it out with some Layering oval framelit and added that on a piece of Copper foil cut out with Scalloped oval framelit. Added them to the card with dimensionals and have som Copper trim under. To decorate more I added som pearls.


Thank you for visiting and have a great day!

Jessica xx

lördag 3 mars 2018

Flower card...

Hello!

I saw a card on Facebook the other day and love it. I forgot to write down where I saw it and had to try and make it from what I could remember. I have thick Whisper White cardstock as base for my card. I then added som designer series paper (DSP) and a strip of white cardstock. On the white cardstock I stamped the flower image from Amazing you stamp set in Old Olive. I then coloured the flowers with Copic Markers, using the R21, R22 and R24. I then added som  washi tape from the Myths and Magic suite. The sentiment is from Cake Soirée stamp set and is cut out with my oval punch and added on a scalloped oval cut ut with a punch.


Thank you for visiting and have a great day!

Jessica xx

fredag 2 mars 2018

Making a card using a sketch...

Hello!

Today I am using a sketch to make my card. I seen som sketches in Pintrest and thought I try it out. And its something I will definitely try it again, was really fun. The sketch I am using has the measurements for the different parts.


The base for my card is Berry Burst cardstock. I then have a layer of Old Olive cardstock. I then have two pieces of designer series paper (DSP) from the Sweet Soirée specialty DSP. I then have a Berry Burst layer and on that I have white cardstock. On the white cardstock I have stamped the flower image from the stamp set called Lots of Lavender in black ink. It is a two-step stamping stamp set and the flowers are stamped with  Berry Burst and the leaves with Old Olive ink. The bow is stamped with Marina Mist ink.  The sentiment is from Bird Banter stamp set. I then added som rhinestones to decorate the card.


Thank you for visiting and have a great day!

Jessica xx

torsdag 1 mars 2018

Peacock card...

Hello!

I was roaming on Pintrest the other day and saw a card using the Beautiful Peacock stamp set. So I thought I would do my version of the card. I am using Thick Whisper White cardstock as base for my card. Then I have a white cardstock layer. On that layer I stamped som flowers from the stamp set with Lemon Lime Twist, Tempting Turquoise and Bermuda Bay. I then have a layer of Lemon Lime Twist cardstock and a Bermuda Bay cardstock layer. On the next white cardstock I stamped the Peacock using the same colours as I did on the flowers. The sentiment is from the Cake Soirée stamp set and I cut it out with a punch layering it on a Lemon Lime Twist cardstock that I cut out with another punch that is a little bigger. I also added some rhinstones.


 Have a great day and thank you for visiting!

Jessica

onsdag 28 februari 2018

Petal Palette...

Hello!

Today I am using the wonderful Petal Palette stamp set. I have Basic Gray cardstock as base of my card. Then a layer of Powder Pink.


On the white cardstock I have stamped the flower image from the stamp set with black ink and then coloured it with my Stampin´ Markers, using the Powder Pink and Old Olive. I then have a layer with Powder Pink and white cardstock. On this white cardstock I stamped the branch in Old Olive and then bird in black ink. I then coloured the bird with Powder Pink Stampin´ Marker. The sentiment is from same stamp set. On the inside I stamped another flower from the stamp set and coloured with same colours as on the outside.


Have a great day and thank you for visiting!

Jessica  xx

tisdag 27 februari 2018

Bird card...again...

Hello!

I am using the Bird Banter stamp set again on today´s card. I have Basic Gray as base for my card then a layer of Calypso Coral and on top of that a layer of Bubbles and Fizz designer series paper (DSP). I then have a layer of Bermuda Bay and some Whisper White cardstock.


On the white card stock I stamped the branch, leaves and the bird in black ink. I coloured them with the colours, Bermuda Bay, Calypso Coral, Daffodil Delight and Lemon Lime Twist. All these colours are in the DSP. On the Bermuda Bay layer I stamped a flower from same stamp set in Bermuda Bay ink. The sentiment on the outside is also from the Bird Banter stamp set and is stamped in Bermuda Bay and the white cardstock is layered on Bermuda Bay cardstock.


On the inside I stamped Happy Birthday from the Perennial Birthday stamp set in Bermuda Bay. 


Thank you for visiting and have a great day!

Jessica xx

måndag 26 februari 2018

Hedgehugs....

Hello!

I made today´s card by following Liz Yuille´s video on YouTube, you can find her video here. I used Old Olive cardstock as base for my card and then a layer of Crumb Cake. The Crumb Cake-layer is embossed with the Large Polka Dot embossing folder. I made it look like a polaroid photo is laying on the card.


I used the stamp set Hedgehugs and the hedgehogs are stamped in Early Espresso-ink. The mushrooms are stamped in real read and old olive. The bird is stamped in early espresso and the branch is in old olive. The mushrooms and bird stamp is coloured in using my Stampin´markers. The sky and ground is coloured with Copic Markers, using the B000 for sky and G43 for grass. The happy birthday-stamp on the front of the polaroid photo is from InkyWings.


On the inside it says Congratulations, also from InkyWings. Also added a little flower from the Hedgehugs stamp set to decorate the inside.


Have a great day and thank you for visiting!

Jessica xx

Life changes......

 It has been 5 years since I posted on here. Life got in the way and so much has happened. Covid happened. My dad had a massive heart attack...